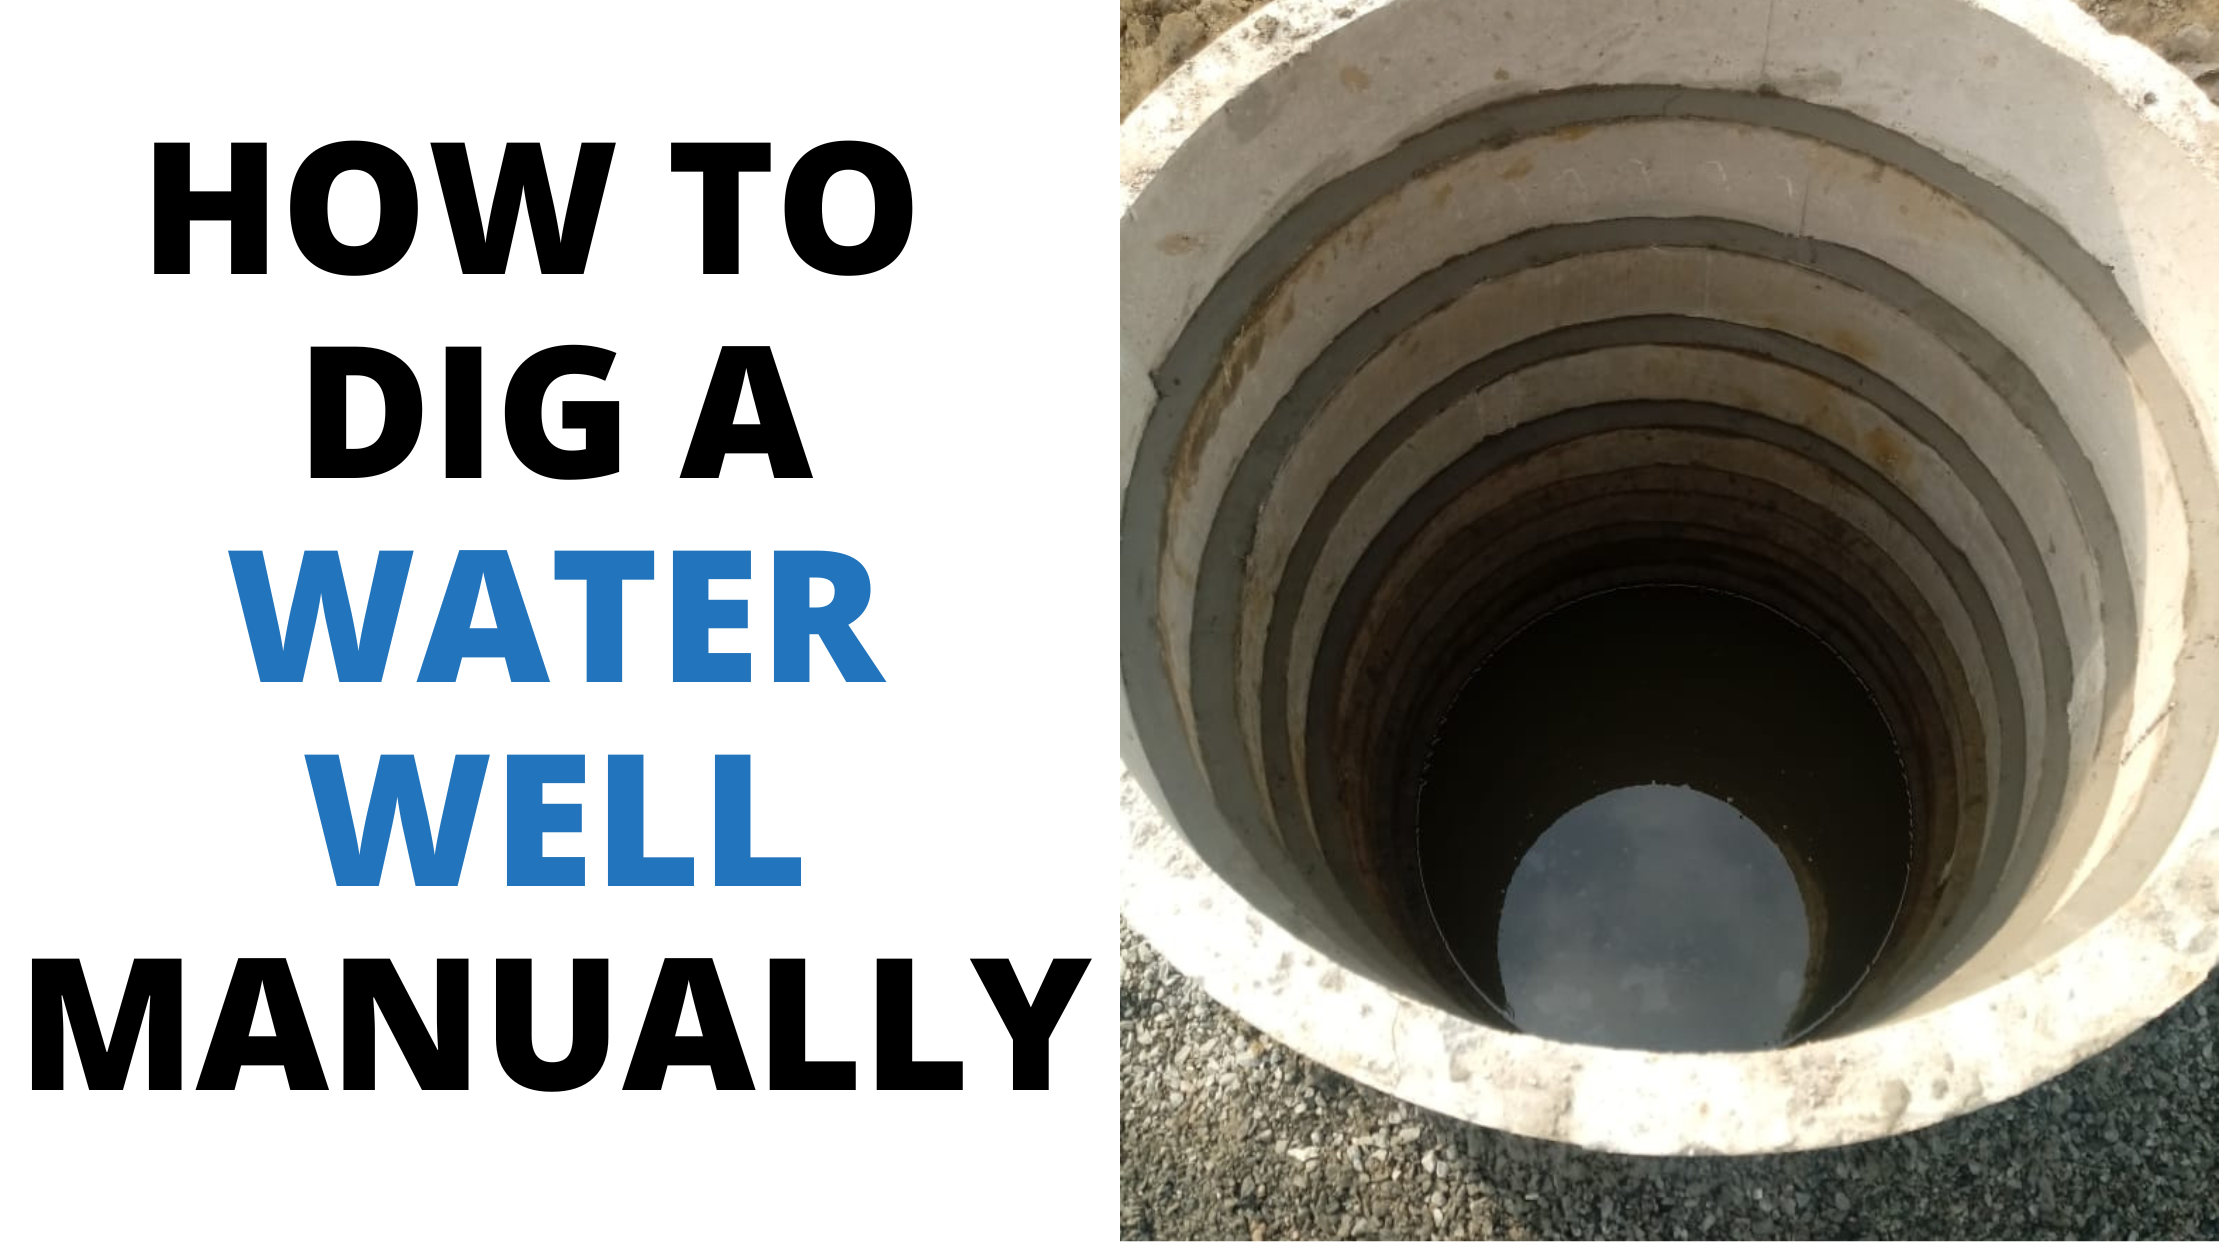
A water well is a must-have in your house. It serves as a secondary source of water during the scorching summers and also when the regular water supply gets disrupted due to some reason. Let’s have a step by step look at how to dig a water well manually by hand.
Hand digging of water well is a simple process. An experienced hand can complete it in a day or two.
Step by Step Process to dig a water well manually
Step 1: The first step in digging a well is to identify the location or the spot to place the well. To find the best location for a new well in Kerala, start by examining the soil composition and identifying natural depressions in the land where water is likely to collect. Seek advice from local experts, considering their knowledge of the region’s groundwater dynamics. Take note of existing well locations nearby and evaluate the direction of groundwater flow based on the topography. Conduct a percolation test to assess the soil’s water absorption capacity. Maintain a safe distance from potential sources of contamination like septic tanks or places with chemicals.
Step 2: You need to prepare concrete rings to place inside the well. The rings can be concreted depending upon the depth and radius of the required well.
Step 3: Once you fix the spot for the well, you can start the hand digging of the well. Place the first ring. You then continue with the ring well construction by digging further down. As you go deeper, you can place the concrete rings on top of the first ring. Additionally, place Cement and sand mortar in between the rings to hold them in place.
Step 4: Continue this hand digging process of the water well till you reach the water level. During this stage, pump out the water using a water pump or by hand.
An added tip
A tip to ensure that the water obtained by the hand-dug well is pure; Add small aggregate pieces between the rings and the soil to purify the water inflow to the well!!
Here is a short video of how a on how to dig a water well manually from one of our worksites.


