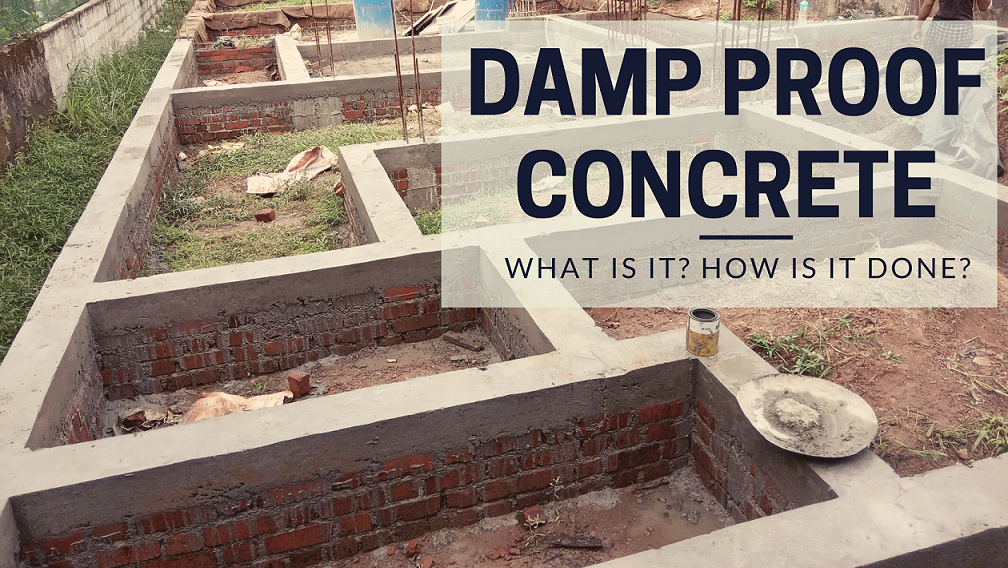
DPC or Damp Proof Course is one of the vital stages in a building construction. We have learnt in High School Physics about the principle of Capillary rise. Capillary Rise is the phenomenon whereby liquids defy gravity and flow upwards in a narrow space. This phenomenon may often occur in our building constructions. This is because the basement and the foundation of a building are in contact with the soil. So, groundwater may find its way up to the masonry wall through the basement.
This causes the dampness to spread to our walls and cause damage to the building. Damp Proof Course comes as a remedy for this problem. In this method a concrete layer is built at the junction between the basement and the masonry wall, thereby cutting all chances of the water to reach the wall.
How is Damp Proof Course done?
DPC is usually done as a layer of concrete above the basement, just before the brick masonry starts. There are multiple ways in which DPC can be done, depending on the foundation used below.
In case of a simple rubble foundation, usually a 10cm thick belt is provided on top of the rubble work. In some cases, it may go upto a thickness of 40cms.
If the foundation involves concreting like Strip Footing or Column Footing, there might be the need to provide a grade beam at the ground level. In such cases, you would need to do brick work for about 30-40 cms and then provide DPC belt on top of the brick work.
Materials used for DPC
An ideal material used for Damp Proofing Course should have the following characteristics
- The material should be impervious and should not allow any moisture to penetrate through it.
- It should be durable and should last as long as the building.
- The material should be strong and capable of withstanding the loads on it.
- It should be flexible and allow structural movements without any fracture.
The most widely used material for DPC is cement concrete M15. Cement concrete of 1:2:4 or 1:1.5:3 mix is provided at plinth level at a thickness of 4cm to 15 cm. If dampness level in the soil is high, a richer mix of concrete should be used. Two coats of hot bitumen paint may also be applied to improve the waterproofing capabilities.
DPC can also be applied at the floor or roof level. Here, it might not be practical to provide belts as discussed above. In such cases, a 4 cm thick DPC layer can be provided. Materials like hot bitumen, metal sheets, asphalt, mastic etc can also be used in such cases.
Damp Proof Course – Step by step process
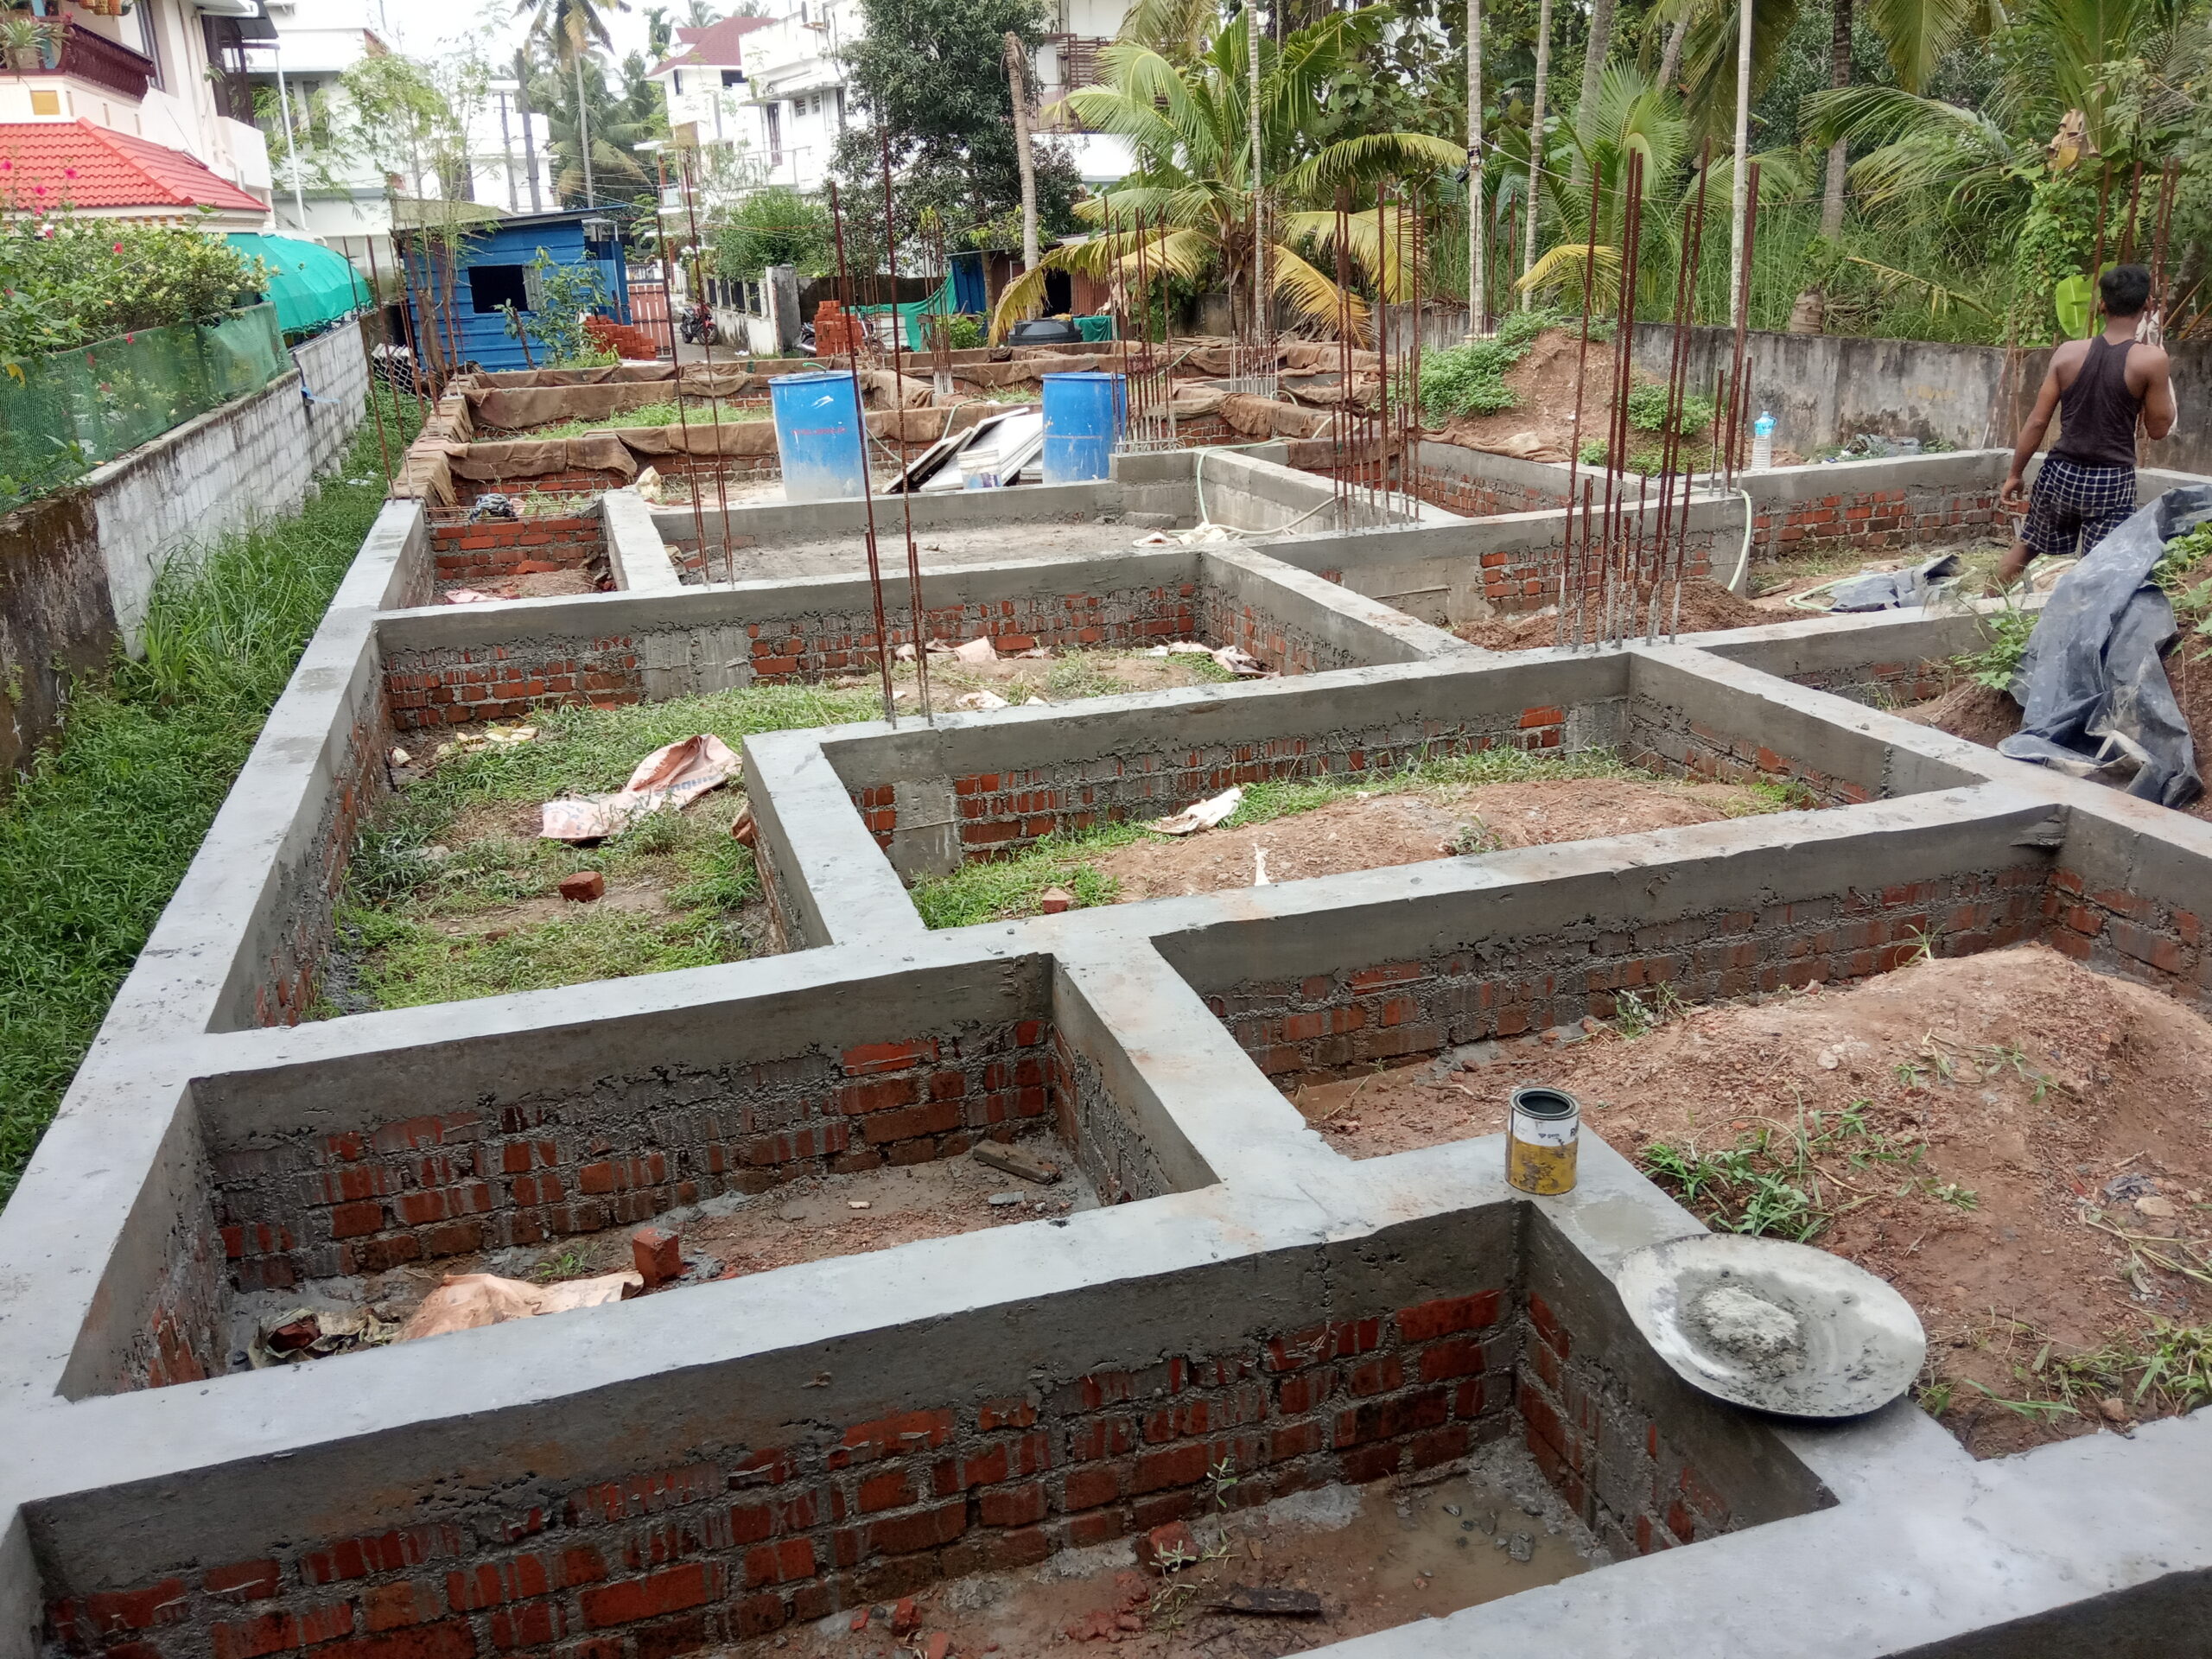
In this particular site that we are seeing today, strip foundation was used. Brick work of 30 cms was done on top of the foundation. The DPC layer is built on top of the brick work.
The first step is to place shutters above the brick work. Reinforcement bars are then placed inside the shutters to create the DPC layer. Cement concrete is mixed in the ratio 1:2:4 (M15) and poured into the DPC layer.
If the soil is too marshy, concrete mix M20 or M25 can be used.
Once the concrete is poured, it has to be levelled using mechanical vibrators. The concrete is poured over the full area and is allowed to set.
Once the concrete sets, the shutters are removed. Curing has to be done for 21 days following the deshuttering.
The last step is to plaster the basement walls to prevent any further seepage of water. The outside walls of the basement can be plastered along with the rest of the building. However the inside walls need to be plastered at this stage, soon after DPC is done, before the soil is filled inside the basement.
Make sure that you do a DPC layer in your building to avoid the hassles caused by dampness in your walls.
Watch Step by step process of Damp Proof Course from our site